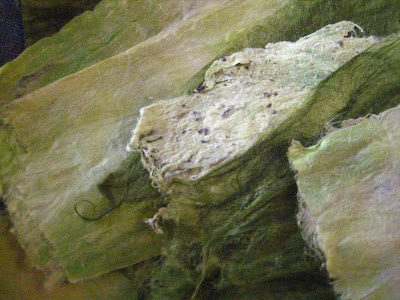
 Use a spray bottle (old antibacterial cleaner for example) to spray with adhesive. You can use cellulose paste for a soft water soluble finish, or dilute pva for a more enduring finish.
 Fold mesh over on top of the fibres
Rub with spoon to push the glue into the fibres. It must be wet right through. Of course I used my best soupspoon for blog purposes ..couldn't be bothered going upstairs to find bag of old spoons.You might need to turn it over and add more glue.


11 comments:
Well I've always thought it must be really complicated but you make it look wonderfully simple - a good tutorial - maureen x
nice tutorial Jackie, I like those shades of green.
Absolutely lovely!! I swear you inspire me to retire and start playing with fabric art!
Hey - thanks for that, Jackie. Hope you're going to do more of these. I'm looking forward to reading your blog on a regular basis.
Love the new blog - I am sure there are lots of us out here! And I love the colours of the green silk paper - much nicer than cabbage (and I like cabbage)!
I had no idea it was that simple! Thanks!
Well it has to be simple if I'm doing it!
Thanks for your comments my dears.
Thanks for posting this, the instructions look like this is easier than I always thought. Maybe I'll get round to trying it one day. The other things in your blog look so great!
Thanks for the tut, Jackie. Are you just using one layer of roving? The other tutorials I've seen, tell you to use multiple layers in different directions. One layer,vertical, the next, horizontal, the next vertical, etc. (I can't remember if they say 3 or 5 layers). - Anne Marie
Hi Anne-Marie..I can only reply here so can you let me know if you get it?
I use one layer all in the same direction. If there are thin patches or holes I add a bit more! If I wanted it really thick I'd add more. It doesn't really matter as its the adhesive that holds it together, not like wool felt where it supports itself.
Wonderful tutorial Jackie! I just want to give it a go!
Post a Comment